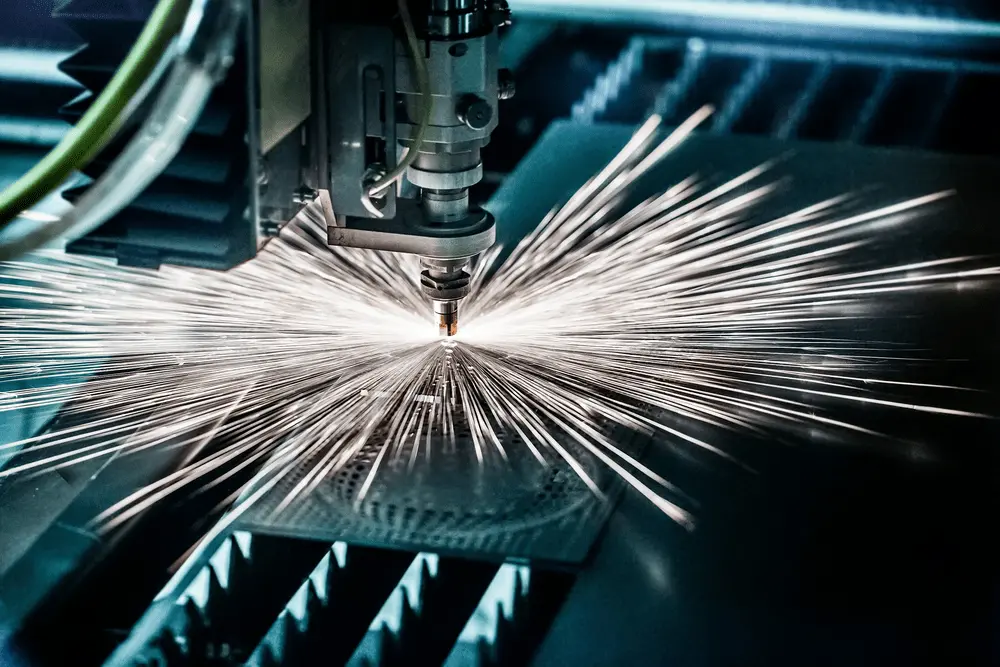
Лазерная резка трубы включает закрепление трубы в Станок Для лазерной резки труб, автоматически центрируя её, настраивая параметры резки и используя сфокусированный лазерный луч для точной резки трубы вдоль запрограммированной траектории.
Процесс объединяет управление ЧПУ, вращательное движение и лазерные технологии для получения точных и беззаусенцевых резов на металлических трубах и трубопроводах.
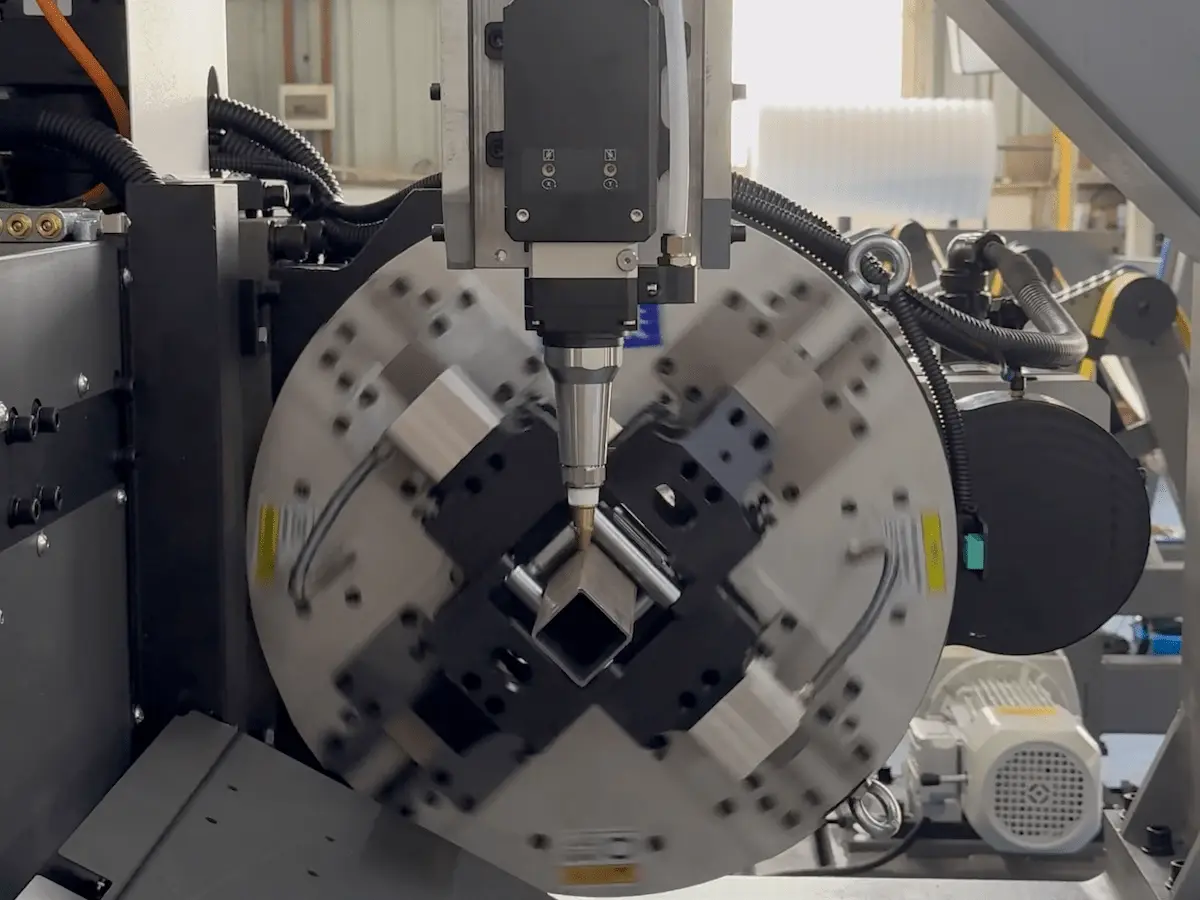
Что такое лазерная резка труб?
Лазерная резка труб — это процесс, при котором используется сфокусированный лазерный луч для резки, прорезания, сверления или формообразования металлических труб и профилей. В отличие от резки плоского листового металла, лазерная резка труб требует:
- Точное зажимание и вращение трубы
- Автоматическое центрирование для компенсации деформации трубы
- Точная синхронизация линейных и вращающихся осей
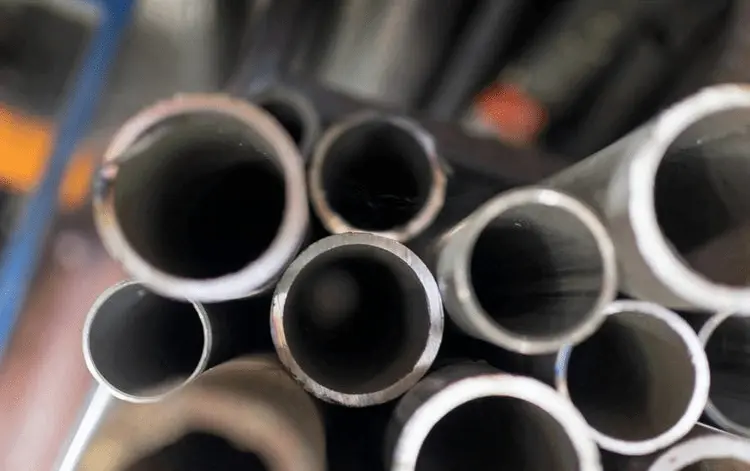
Станок для лазерной резки труб способен обрабатывать круглые, квадратные, прямоугольные трубы и профили сложной формы с высокой повторяемостью и минимальными потерями материала.
1. Подготовка перед лазерной резкой трубы
Proper preparation is critical for safety, accuracy, and cutting quality.
Check the Work Area
-
Ensure the working area is clean and free of obstacles
- Confirm all safety guards and protective covers are in place
Inspect the Machine
- Check the laser source, chiller water temperature, and gas pressure
- Inspect the cutting nozzle and focusing lens for contamination or damage
- Confirm all electrical and pneumatic connections are normal
Prepare Materials and Tools
- Verify tube material, diameter, thickness, and length
- Prepare drawings or cutting programs in advance
2. Power-On and Machine Startup
Correct startup order protects the machine and ensures stable operation.
Standard Startup Sequence
- Main power switch
- Voltage stabilizer
- Emergency stop reset
- CNC control system
- Servo system
- Water chiller
- Лазерный источник

Once the control system finishes initialization, perform a homing operation to reset all axes to their reference positions
3. Drawing and Programming for Tube Laser Cutting
Create or Import Tube Cutting Drawings

Using professional tube cutting software (such as TubesT):
- Draw parts directly or import existing CAD files
-
Define tube type (round, square, rectangular, etc.)
- Enter tube dimensions and wall thickness

Process and Nesting Setup
- Define cutting paths, pierce points, and lead-ins
- Apply cutting technology parameters
- Perform automatic nesting to optimize material usage
Export the completed task as a cutting program for the machine.
4. Machine Calibration and Debugging
Before cutting, accurate calibration is essential.
Capacitive Calibration
With the tube clamped in the chuck:
- Perform nozzle capacitance calibration
- Ensure stable height control during cutting
B-Axis and Chuck Calibration
- Calibrate the B-axis center
- Check chuck clamping force and support alignment
- Ensure smooth tube rotation without slipping
5. Loading and Centering the Tube
Tube Loading
- Load tubes manually or using an automatic loading system
- Clamp the tube securely with the chuck
Automatic Centering
- Run the automatic tube centering function
- The system detects tube deformation and calculates offset values
- This ensures the laser cutting head stays aligned with the tube center
Accurate centering is a key advantage of modern tube laser cutting machines and directly affects cutting precision.
6. Set Laser Cutting Parameters
Laser cutting parameters must be adjusted according to material and thickness.
Key Parameters Include:
- Cutting speed (m/min)
- Nozzle height (mm)
- Assist gas type (air, oxygen, nitrogen)
- Gas pressure (BAR)
- Peak power (%)
- Duty cycle (%)
- Focus position (mm)

Tip for beginners: Always start with recommended parameters and perform a short test cut before mass production
7. Start the Laser Tube Cutting Process
Trial Cutting
- Click the “Start” button to begin cutting
- Perform a short test cut
- Check edge quality, burrs, and dimensional accuracy
Batch Production
Once the result is confirmed:
- Enable cycle processing mode
- Set production quantity and interval time
- Monitor the cutting process in real time
During cutting, observe:
- Stability of cutting sparks
- Smooth removal of scrap
- Gas pressure and machine status
8. Unloading and Shutdown
After cutting is completed:
Unloading
- Use the unloading system to remove finished parts
- Avoid direct contact with hot materials
Shutdown Procedure
- Turn off the laser source
- Close assist gas valves
- Power down the machine in the correct sequence
- Clean residual scrap from the work area
Safety Tips for Laser Tube Cutting
- Never place hands or body parts inside the protected cutting area
- Press the emergency stop immediately in case of abnormal conditions
- Do not modify parameters without proper training
- Contact technical support if issues cannot be resolved
Final Thoughts
Понимание того, как правильно выполнять лазерную резку труб, имеет ключевое значение для достижения высокой точности, стабильного качества и эффективного производства. Следуя стандартизированному процессу лазерной резки труб и используя надежный станок для лазерной резки труб, производители могут существенно сократить затраты на рабочую силу и повысить общую производительность.
Современные трубные станки с волоконным лазером позволяют обрабатывать сложные формы труб быстро и стабильно, что делает их незаменимым инструментом в современной металлообрабатывающей промышленности.