개요
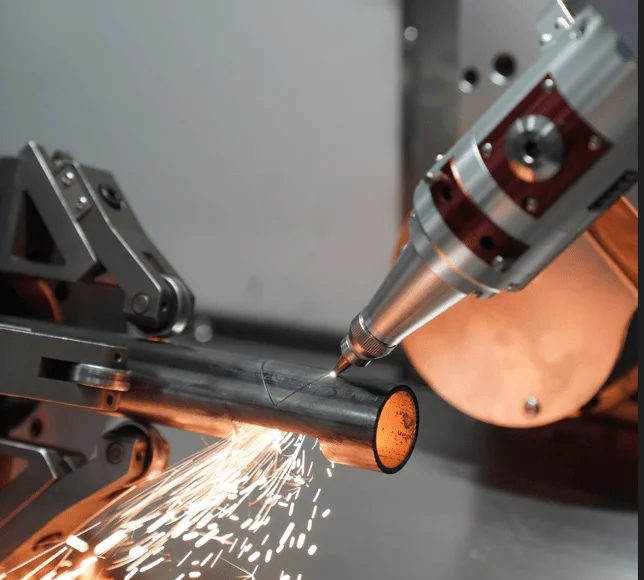
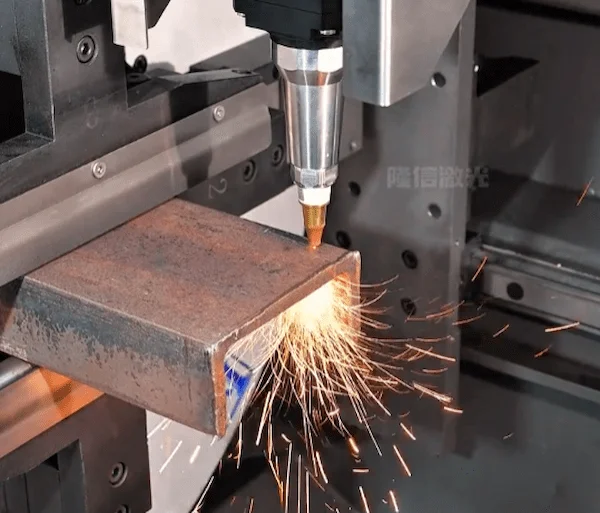
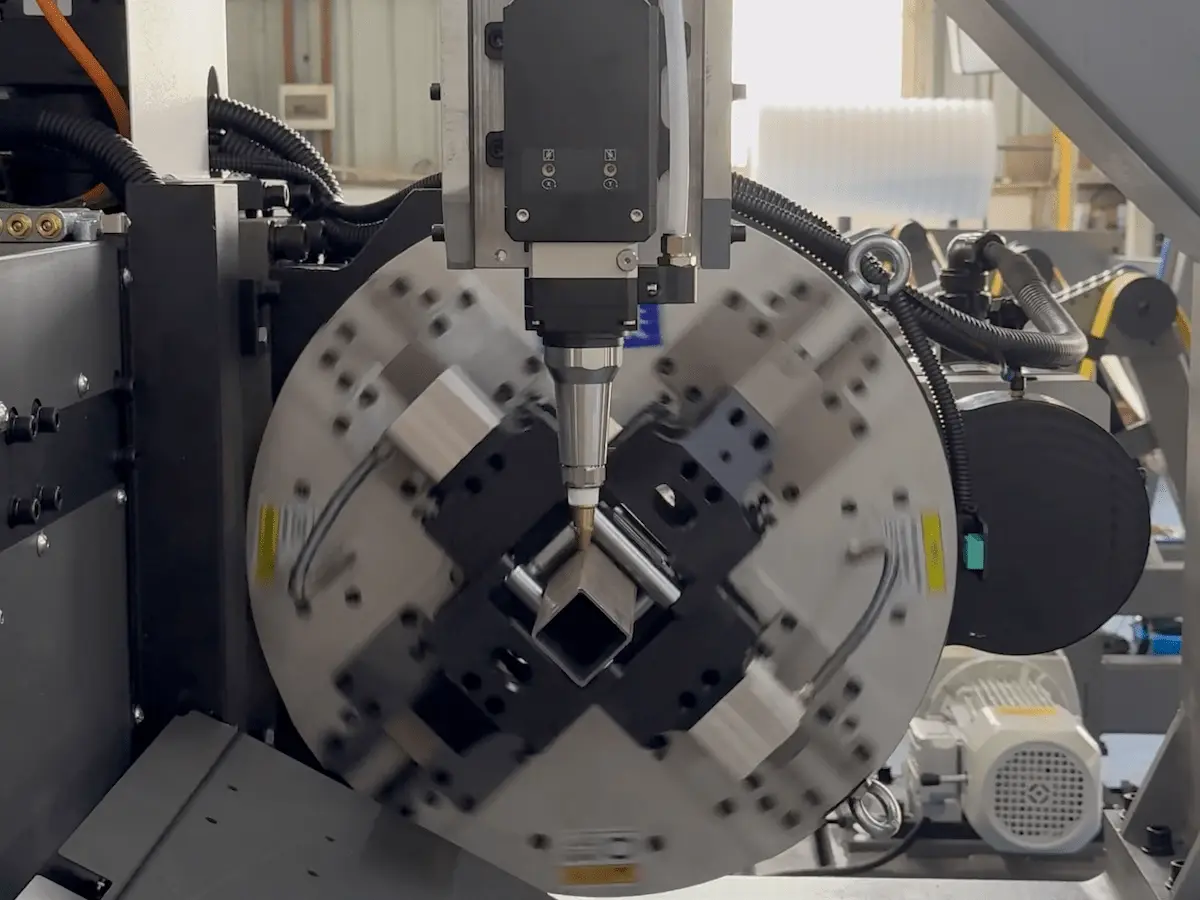
척은 모든 것의 심장이다 레이저 튜브 절단기: 그 파지 상태는 절삭 정밀도, 부품 동심도 및 기계 가동 시간에 직접적인 영향을 미칩니다. 아래는 가장 흔한 척 파지 문제를 분류하고, 근본 원인을 설명하며, 현장에서 바로 적용할 수 있는 명확하고 실행 중심적인 수정 및 유지보수 모범 사례를 제공하는 실용적인 엔지니어 수준의 가이드입니다.
빠른 진단 체크리스트 (먼저 확인할 사항)
-
절삭 중 부품이 이동합니까 (위치 오프셋 또는 굽은 이음매)?
-
미끄러짐 또는 불균일한 클램핑 힘이 있습니까?
-
척 어셈블리에서 비정상적인 소음이나 진동이 있습니까?
-
공기 누출(히싱)이 있거나 시스템이 공압 압력을 잃고 있습니까?
-
부품 동심도가 허용 오차(>0.1 mm)를 벗어납니까?
위 항목 중 하나라도 “예”라고 답했다면 아래의 대상별 문제 해결 단계를 따르십시오.
일반적인 문제, 원인 및 단계별 수정
불안정한 클램핑 → 위치 편차
증상: 절삭 중 공작물이 이동하여 구멍/절삭 오프셋 또는 불일관한 이음매 폭이 발생합니다.
가능한 원인 및 수정
-
마모된 죠 표면: 죠의 마모, 피팅 또는 “벨 마우스” 변형을 검사하십시오. 심하게 마모된 죠는 교체하십시오.
-
이물질 축적: 척을 분해하고 가이드 레일, 클램프 블록 및 접촉 표면을 청소하여 철분 먼지와 칩을 제거하십시오.
-
기계적 백래시: 롤러, 기어 및 전동 장치의 유격을 확인하고 기어 맞물림과 롤러 간극을 제조업체 표준으로 재설정하십시오.
-
공압 압력: 작동 공기 압력이 안정적인지 확인하십시오. 클램프는 일반적으로 약 4–0.6 MPa 의 안정적인 파지를 필요로 합니다 — 레귤레이터와 공급을 확인하십시오.
클램프 힘 부족으로 인한 미끄러짐
증상: 회전/절삭 중 공작물이 미끄러집니다. 더 무겁거나 둥근 소재에서 자주 관찰됩니다.
수정
-
공기 경로 및 압력: 공압 라인, 피팅 및 밸브의 누출을 검사하십시오. 작동 압력을 적절한 작동 범위로 높이십시오 (기계 사양 참조).
-
접촉 표면 오염: 죠 표면에서 오일, 칩 및 먼지를 제거하십시오.
-
마모된 후방 죠 또는 실린더: 마모된 죠 구성 요소 또는 누출 실린더를 검사하고 교체하십시오.
소음, 덜컹거림 또는 흔들림
증상: 척 회전 중 비정상적인 소음; 눈에 보이는 척 진동.
원인 및 수정
-
느슨하거나 마모된 내부 부품: 패스너를 조이고 베어링 유격을 테스트하십시오. 마모된 베어링 또는 기어박스 부품을 교체하십시오.
-
기어 이 사이의 칩/절삭 잔해: 기어 이를 청소하고 적절한 윤활을 적용하십시오 (윤활 지침 참조).
-
기어 맞물림 정렬 불량: 원활한 전동을 보장하기 위해 기어 간극을 조정하십시오.
공압 누출 (공기 누출)
증상: 들리는 히싱, 클램프 힘 손실, 간헐적 작동.
수정
-
씰 교체: 노화, 절단 또는 변형을 보이는 O-링 및 밀봉 요소를 검사하고 교체하십시오.
-
내부 누출 경로 수리: 척을 분해하고 압력 테스트하여 내부 누출을 찾고 손상된 통로를 수리하십시오.
-
피팅 및 밸브 확인: 튜브 연결, 솔레노이드 밸브 및 실린더 씰을 검증하십시오.
동심도(런아웃) 공차 초과
영향: 홀 위치 오류 및 조립 맞춤 불량을 유발합니다.
교정 절차
-
다이얼 게이지로 측정: 다이얼 게이지를 사용하여 런아웃을 확인하고 판독값을 기록합니다.
-
장착 조정: 허용 공차 범위 내에서 척을 재배치하고 재고정합니다. 일반적인 목표는 ≤ 0.1 mm 동심도입니다.
-
자동 센터링 루틴 사용: 사용 가능한 경우, 기계의 5점 레벨링/자동 센터링 루틴을 실행하여 정밀 정렬을 수행합니다.
일상 및 정기 유지보수(예방 조치)
윤활
-
리튬계 그리스(리튬 그리스 No.2)를 베어링과 기어 맞물림부에 매 교대 또는 기계 윤활 일정에 따라 도포합니다.
청소
-
레이저 슬래그와 금속 칩을 정기적으로 제거합니다. 주 2~3회 가벼운 청소를 수행하고, 정기적으로 더 깊은 검사와 청소를 실시합니다.
공기 품질 및 압력
-
깨끗하고 건조한 압축 공기를 사용합니다. 주 공급 압력을 기계의 지정 범위(일반 공급 범위 4–1.0 MPa) 내로 유지하며, 클램프 세부 사항은 종종 약 4–0.6 MPa.
패스너 및 사전 작동 점검
-
매 교대 전: 죠 패스너, 죠 개방 한계를 점검하고 척이 원활하게 닫히고 열리는지 확인합니다.
-
공기 공급을 의도적으로 차단한 상태에서 척을 작동하지 말고, 척이 회전하는 동안 수동 해제를 누르지 마십시오.
안전 규칙 및 모범 사례
-
척을 분리하거나 설치하기 전에 항상 전원을 차단하고 공압 공급을 격리하십시오.
-
척의 파지 용량에 가까운 부품을 작업할 때는 회전 속도를 줄이십시오.
-
비표준 또는 얇은 벽 프로파일의 경우 변형을 방지하기 위해 RPM과 클램핑 전략을 조정하십시오.
-
비정형 튜브를 가공할 때는 프로파일에 맞는 맞춤 죠를 사용하고 특수 공구 경로를 고려하십시오(많은 기계는 모따기 없는 사각 튜브용 “원키 특수 공구 경로”를 제공합니다).
특수 구성 및 팁
-
3-에어 vs 4-에어 회로: 척의 공압 레이아웃을 파악하십시오. 4-에어 회로 척은 일반적으로 메인 롤러와 보조 하드 죠를 독립적으로 제어합니다. 3-에어 척은 메인 죠가 배기될 때 보조 죠를 제어하는 데 의존할 수 있습니다. 예기치 않은 해제를 방지하기 위해 제어 로직을 적절히 설정하십시오.
-
불규칙 단면용 맞춤 죠: 표준 죠가 비대칭 또는 프로파일 튜브를 고정할 수 없는 경우, 해당 단면에 맞게 설계된 맞춤 죠를 장착하여 동심도를 유지하고 미끄러짐을 방지하십시오.
문제 해결 흐름(간결)
-
증상을 재현하고 발생 시기와 방법을 기록합니다.
-
육안 검사: 죠, 씰, 피팅 및 이물질.
-
공압: 압력, 호스 및 솔레노이드 점검.
-
기계적: 베어링, 기어 및 패스너 검사.
-
동심도를 측정하고 필요에 따라 재정렬하거나 부품을 교체합니다.
-
검증 절단을 실행하고 반복성을 모니터링합니다.
결론
예방적 유지보수 프로그램과 체계적인 문제 해결 절차를 결합하면 척 관련 문제가 생산 손실로 이어지는 것을 방지할 수 있습니다. 핵심 사항: 죠 표면과 가이드 레일을 깨끗하게 유지하고, 올바른 공압 압력을 유지하며, 마모된 죠나 씰을 신속히 교체하고, 정기적인 다이얼 게이지 점검으로 동심도를 목표로 하십시오. ≤ 0.1 mm 이러한 권장 사항을 구현하면 미끄러짐을 최소화하고 절단 품질을 개선하며 척 수명을 연장할 수 있습니다.