概述
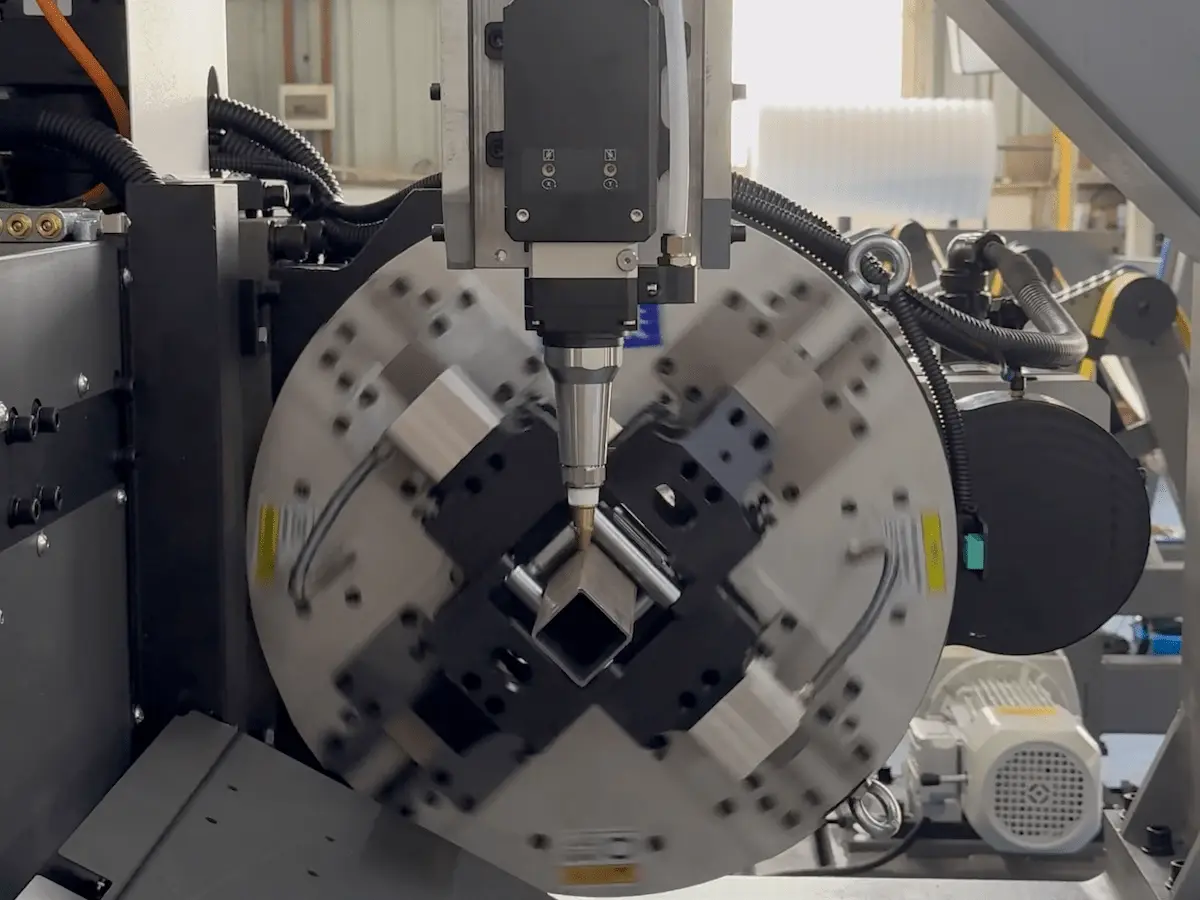
夾頭是任何 雷射切管機的心臟:其夾持狀況直接影響切割精度、零件同心度與機器稼動率。以下是一份實用的工程師級指南,分類說明最常見的夾頭夾持問題、解釋根本原因,並提供清晰、可立即執行的修復方法與保養最佳實務,讓您能在現場直接應用。.
快速診斷檢查表(優先檢查項目)
-
切割過程中零件是否移位(位置偏移或彎曲的接縫)?
-
是否有滑動或夾持力不均的情況?
-
夾頭組件是否有異常噪音或振動?
-
是否有漏氣聲(嘶嘶聲),或系統氣壓是否下降?
-
零件同心度是否超出公差(>0.1 mm)?
如果您對以上任一問題回答「是」,請按照下方針對性的故障排除步驟進行處理。.
常見問題、原因與逐步修復方法
夾持不穩定 → 位置偏移
症狀: 工件在切割過程中移位,導致孔位/切割偏移或接縫寬度不一致。.
可能原因與修復方法
-
夾爪面磨損: 檢查夾爪是否有磨損、點蝕或「喇叭口」變形。更換嚴重磨損的夾爪。.
-
碎屑堆積: 拆卸夾頭,清潔導軌、夾塊和接觸面,去除鐵屑與切屑。.
-
機械背隙: 檢查滾輪、齒輪與傳動間隙;按照製造商標準重新設定齒輪嚙合與滾輪間隙。.
-
氣壓壓力: 確保工作氣壓穩定;夾持通常需要約 4–0.6 MPa 才能可靠夾持 — 檢查調壓閥與供氣。.
因夾持力不足導致滑動
症狀: 工件在旋轉/切割過程中滑動;常見於較重或圓形材料。.
修復方法
-
氣路與壓力: 檢查氣動管路、接頭與閥門是否有洩漏。將工作壓力提升至適當的工作範圍(參閱機器規格)。.
-
接觸面污染: 清除夾爪面上的油污、碎屑與灰塵。.
-
後夾爪或氣缸磨損: 檢查並更換磨損的夾爪組件或洩漏的氣缸。.
噪音、嘎嘎聲或晃動
症狀: 夾頭旋轉時出現異常聲音;可見夾頭擺動。.
原因與修復方法
-
內部零件鬆動或磨損: 鎖緊緊固件並測試軸承間隙。更換磨損的軸承或齒輪箱零件。.
-
齒輪齒間有切屑/切削碎屑: 清潔齒輪齒並施加適當潤滑(參閱潤滑指南)。.
-
齒輪嚙合不對中: 調整齒輪間隙以確保平穩傳動。.
氣動洩漏(空氣逸出)
症狀: 可聽見嘶嘶聲、夾持力喪失、間歇性運作。.
修復方法
-
更換密封件: 檢查並更換出現老化、切口或變形的O型環與密封元件。.
-
修復內部洩漏路徑: 拆卸夾頭並進行壓力測試,找出內部洩漏點;修復損壞的通道。.
-
Check fittings & valves: Verify tubing connections, solenoid valves and cylinder seals.
5) Concentricity (runout) out of tolerance
Impact: Causes hole mislocation and poor assembly fit.
Correction procedure
-
Measure with a dial indicator: Use a dial indicator to check runout and record readings.
-
Adjust mounting: Reposition and re-fasten the chuck within allowable tolerances; typical target ≤ 0.1 mm concentricity.
-
Use auto-centering routines: Where available, run the machine’s five-point leveling / auto-centering routine to perform precise alignment.
Daily and periodic maintenance (preventive practices)
Lubrication
-
Apply lithium-based grease (Lithium grease No.2) to bearings and gear mesh each shift or per the machine’s lubrication schedule.
Cleaning
-
Remove laser slag and metal swarf regularly. Perform a light clean 2–3 times per week; deeper inspection and cleaning on a scheduled basis.
Air quality & pressure
-
Use clean, dry compressed air. Maintain primary supply pressure in the machine’s specified range (general supply range 0.4–1.0 MPa), while clamp specifics often operate around 4–0.6 MPa.
Fastener & pre-run checks
-
Before each shift: check jaw fasteners, jaw opening limits and that the chuck closes and opens smoothly.
-
Never run the chuck with the air supply intentionally turned off, and avoid pressing manual release while the chuck is rotating.
Safety rules and best practices
-
Always power down and isolate pneumatic supply before removing or installing the chuck.
-
Reduce rotational speed when working with parts close to the chuck’s gripping capacity.
-
For non-standard or thin-walled profiles, adjust RPM and clamping strategy to avoid deformation.
-
When machining odd-shaped tubes, use custom jaws sized to the profile and consider special tool paths (many machines offer a “one-key special toolpath” for square tubes without chamfers).
Special configurations & tips
-
3-air vs 4-air circuits: Know your chuck’s pneumatic layout. A 4-air circuit chuck typically controls the main roller and an auxiliary hard jaw independently; 3-air chucks may rely on the main jaw to control the auxiliary jaw when it vents. Set control logic appropriately to avoid unexpected releases.
-
Custom jaws for irregular sections: If standard jaws can’t secure an asymmetric or profiled tube, fit custom jaws designed for that section to maintain concentricity and prevent slipping.
Troubleshooting flow (compact)
-
Reproduce the symptom and record when/how it happens.
-
Visual inspection: jaws, seals, fittings, and debris.
-
Pneumatics: check pressure, hoses, and solenoids.
-
Mechanical: inspect bearings, gears, and fasteners.
-
Measure concentricity and re-align or replace parts as needed.
-
Run a verification cut and monitor repeatability.
結論
A proactive maintenance program combined with disciplined troubleshooting steps will keep chuck-related issues from turning into production losses. Key takeaways: keep jaw faces and guide rails clean, maintain correct pneumatic pressure, replace worn jaws or seals promptly, and aim for concentricity ≤ 0.1 mm with regular dial-indicator checks. Implementing these recommendations will minimize slippage, improve cut quality and extend chuck lifetime.