Overview
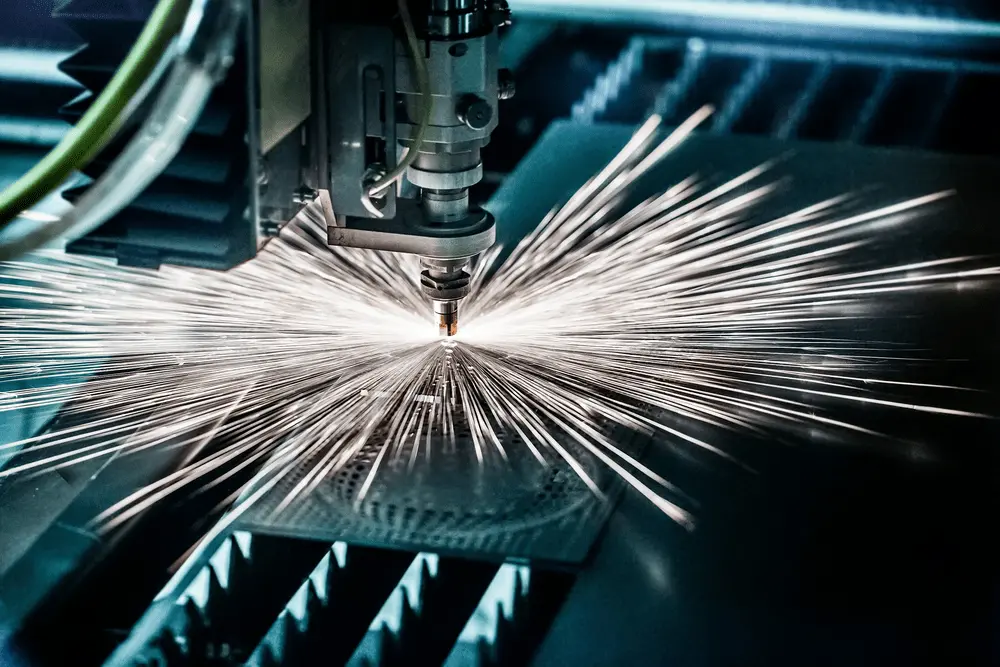
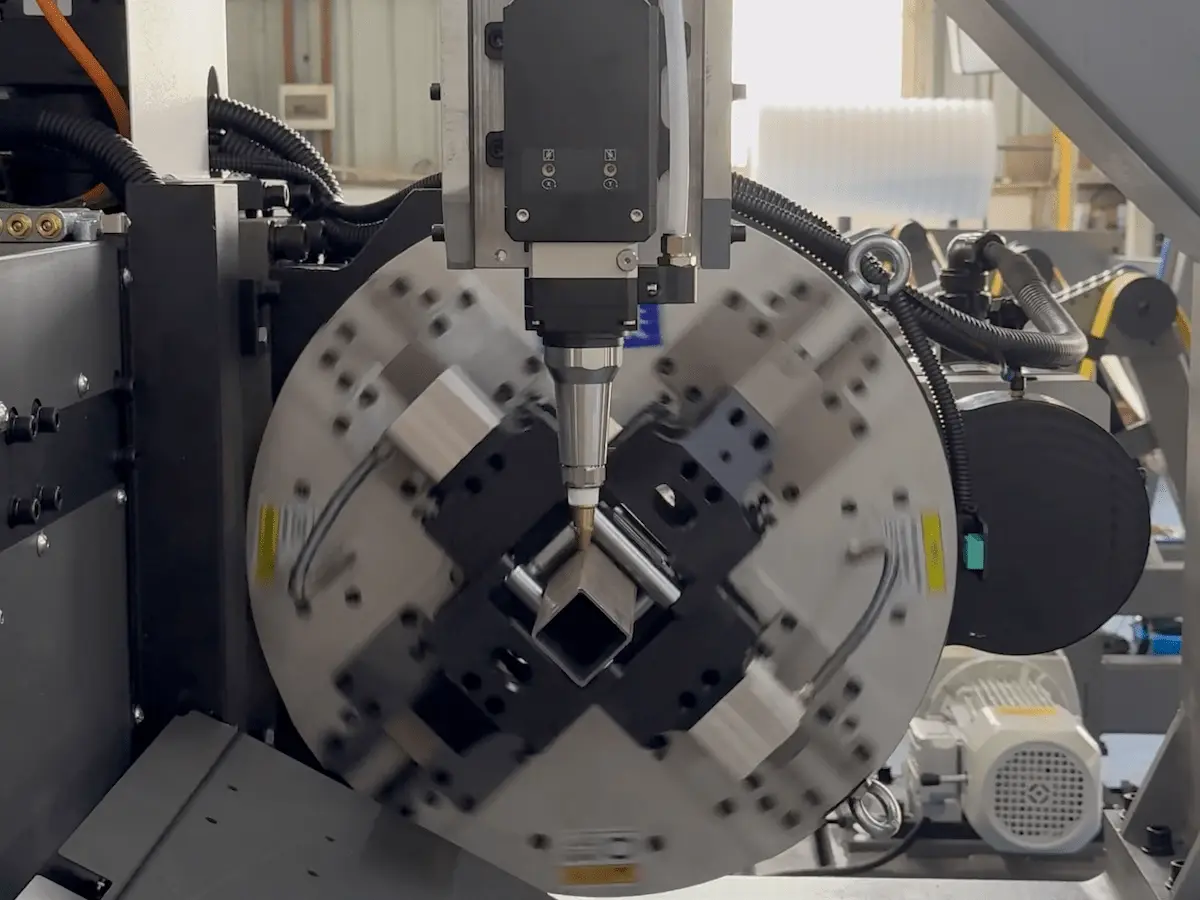
The chuck is the heart of any laser tube cutting machine: its gripping condition directly affects cutting accuracy, part concentricity and machine uptime. Below is a practical, engineer-level guide that categorizes the most common chuck grip problems, explains root causes, and provides clear, action-oriented fixes and maintenance best practices you can apply on the shop floor.
Quick diagnostic checklist (what to check first)
-
Is the part shifting during cutting (positional offset or bent seams)?
-
Is there slippage or uneven clamping force?
-
Any unusual noise or vibration from the chuck assembly?
-
Is there air leakage (hissing), or is the system losing pneumatic pressure?
-
Is part concentricity out of tolerance (>0.1 mm)?
If you answered “yes” to any of the above, follow the targeted troubleshooting steps below.
Common problems, causes and step-by-step fixes
1) Unstable clamping → positional deviation
Symptoms: Workpiece shifts during cutting, resulting in hole/cut offsets or inconsistent seam widths.
Likely causes & fixes
-
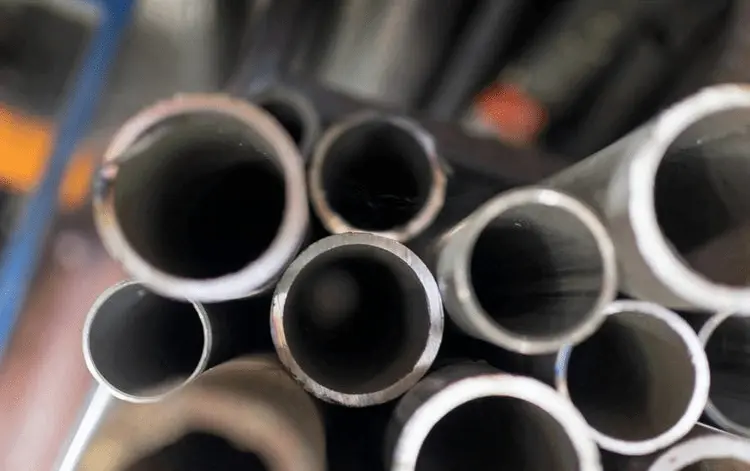
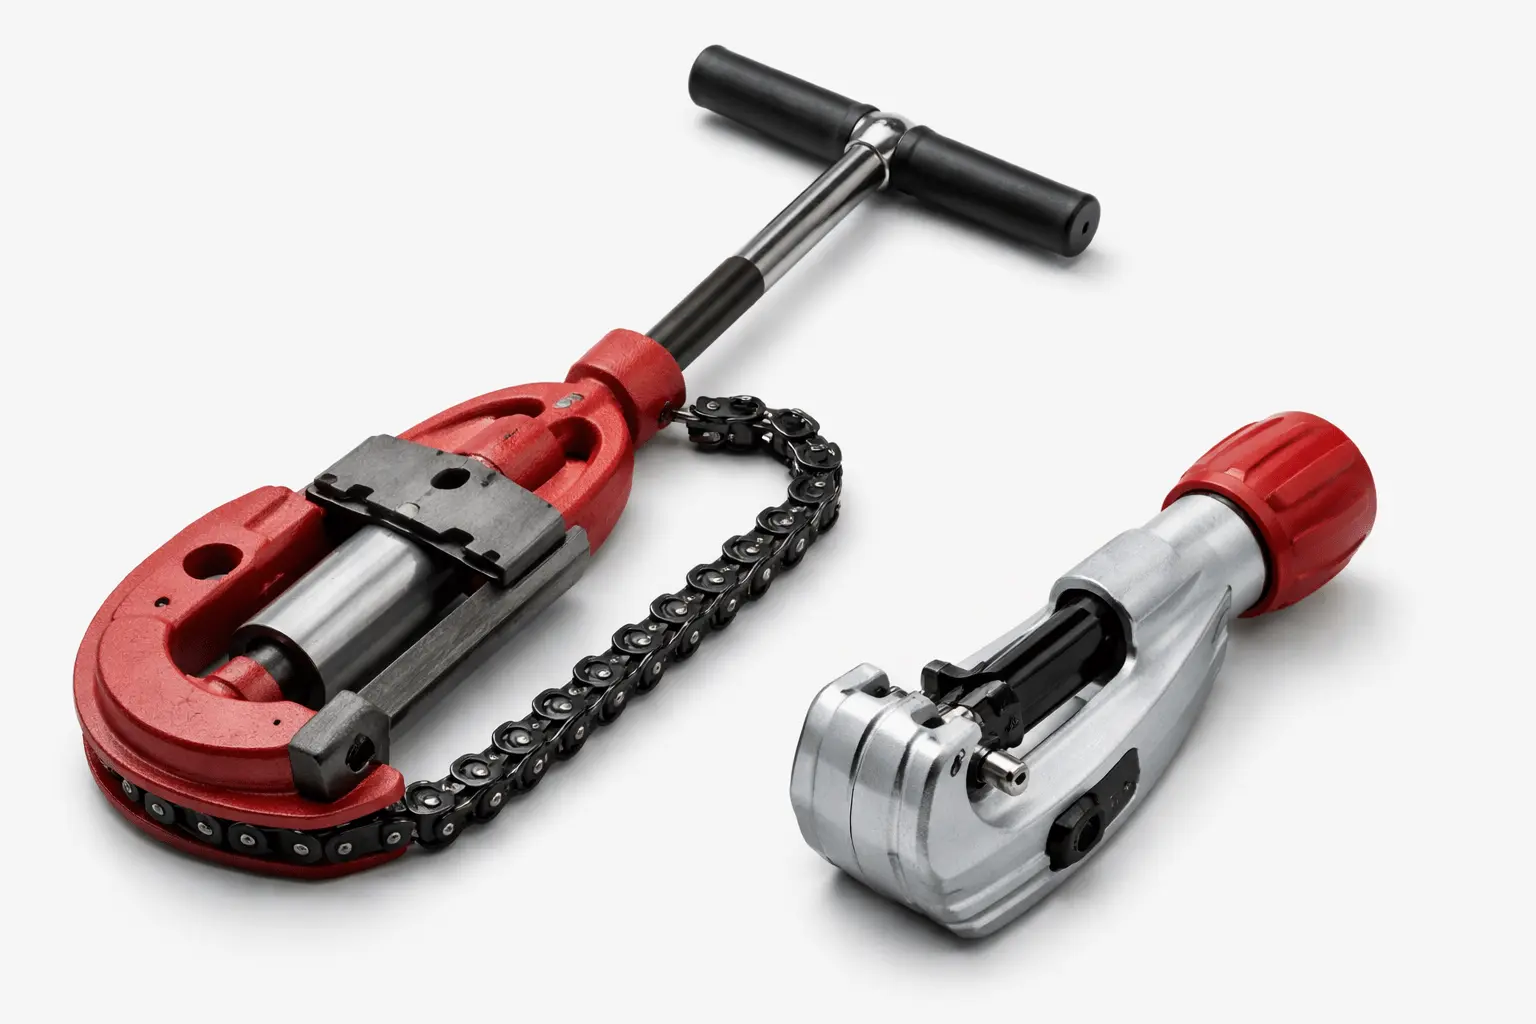
Worn jaw faces: Inspect jaws for wear, pitting or “bell-mouth” deformation. Replace severely worn jaws.
-
Debris buildup: Disassemble the chuck and clean guide rails, clamp blocks, and contact surfaces to remove iron dust and swarf.
-
Mechanical backlash: Check rollers, gears and transmission play; reset gear mesh and roller clearances to the manufacturer’s standard.
-
Pneumatic pressure: Ensure operating air pressure is stable; the clamp typically needs about 0.4–0.6 MPa for reliable gripping — verify regulator and supply.
2) Slipping due to insufficient clamp force
Symptoms: Workpiece slips during rotation/cutting; often noticed with heavier or round stock.
Fixes
-
Air path and pressure: Inspect pneumatic lines, fittings and valves for leaks. Raise working pressure to the proper operating range (see machine spec).
-
Contact surface contamination: Remove oil, chips and dust from jaw faces.
-
Worn rear jaws or cylinders: Inspect and replace worn jaw components or leaking cylinders.
3) Noise, rattling or wobble
Symptoms: Unusual sounds during chuck rotation; visible chuck oscillation.
Causes & fixes
-
Loose or worn internal parts: Tighten fasteners and test for bearing play. Replace worn bearings or gearbox parts.
-
Swarf/cutting debris between gear teeth: Clean gear teeth and apply proper lubrication (see lubrication guidance).
-
Gear mesh misalignment: Adjust gear clearance to ensure smooth transmission.
4) Pneumatic leaks (air escaping)
Symptoms: Audible hissing, loss of clamp force, intermittent operation.
Fixes
-
Replace seals: Inspect and replace O-rings and sealing elements showing aging, cuts or deformation.
-
Repair internal leak paths: Disassemble and pressure-test the chuck to locate internal leaks; repair damaged passages.
-
Check fittings & valves: Verify tubing connections, solenoid valves and cylinder seals.
5) Concentricity (runout) out of tolerance
Impact: Causes hole mislocation and poor assembly fit.
Correction procedure
-
Measure with a dial indicator: Use a dial indicator to check runout and record readings.
-
Adjust mounting: Reposition and re-fasten the chuck within allowable tolerances; typical target ≤ 0.1 mm concentricity.
-
Use auto-centering routines: Where available, run the machine’s five-point leveling / auto-centering routine to perform precise alignment.
Daily and periodic maintenance (preventive practices)
Lubrication
-
Apply lithium-based grease (Lithium grease No.2) to bearings and gear mesh each shift or per the machine’s lubrication schedule.
Cleaning
-
Remove laser slag and metal swarf regularly. Perform a light clean 2–3 times per week; deeper inspection and cleaning on a scheduled basis.
Air quality & pressure
-
Use clean, dry compressed air. Maintain primary supply pressure in the machine’s specified range (general supply range 0.4–1.0 MPa), while clamp specifics often operate around 0.4–0.6 MPa.
Fastener & pre-run checks
-
Before each shift: check jaw fasteners, jaw opening limits and that the chuck closes and opens smoothly.
-
Never run the chuck with the air supply intentionally turned off, and avoid pressing manual release while the chuck is rotating.
Safety rules and best practices
-
Always power down and isolate pneumatic supply before removing or installing the chuck.
-
Reduce rotational speed when working with parts close to the chuck’s gripping capacity.
-
For non-standard or thin-walled profiles, adjust RPM and clamping strategy to avoid deformation.
-
When machining odd-shaped tubes, use custom jaws sized to the profile and consider special tool paths (many machines offer a “one-key special toolpath” for square tubes without chamfers).
Special configurations & tips
-
3-air vs 4-air circuits: Know your chuck’s pneumatic layout. A 4-air circuit chuck typically controls the main roller and an auxiliary hard jaw independently; 3-air chucks may rely on the main jaw to control the auxiliary jaw when it vents. Set control logic appropriately to avoid unexpected releases.
-
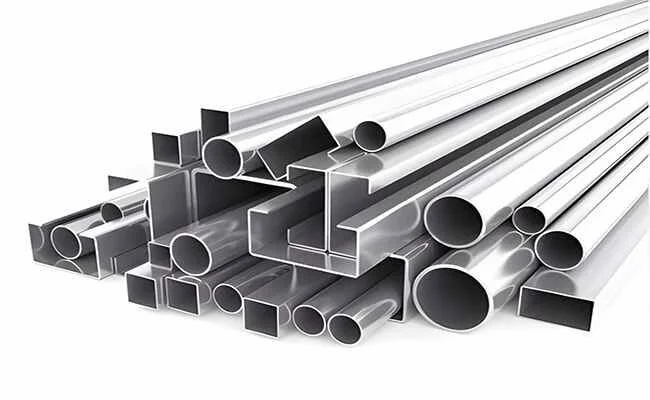
Custom jaws for irregular sections: If standard jaws can’t secure an asymmetric or profiled tube, fit custom jaws designed for that section to maintain concentricity and prevent slipping.
Troubleshooting flow (compact)
-
Reproduce the symptom and record when/how it happens.
-
Visual inspection: jaws, seals, fittings, and debris.
-
Pneumatics: check pressure, hoses, and solenoids.
-
Mechanical: inspect bearings, gears, and fasteners.
-
Measure concentricity and re-align or replace parts as needed.
-
Run a verification cut and monitor repeatability.
Conclusion
A proactive maintenance program combined with disciplined troubleshooting steps will keep chuck-related issues from turning into production losses. Key takeaways: keep jaw faces and guide rails clean, maintain correct pneumatic pressure, replace worn jaws or seals promptly, and aim for concentricity ≤ 0.1 mm with regular dial-indicator checks. Implementing these recommendations will minimize slippage, improve cut quality and extend chuck lifetime.